How To: Request Approval on an Ed Plan in Starfish
This is a guide on how to request approval on a comprehensive education plan in Starfish.
Note: For privacy reasons, some information is blacked out or "test" accounts are used for the screenshots.
Log into Starfish
- Log into “insideBC”
- Click on “Tools”
- Click on “Starfish”

Starfish
1. From within the plan you would like to request approval for select the “Request Approval” link in the menu to the right of the requirements tab.

2. Type in the text box that you need approval for “xyz,” fill in the blank. For example if you need approval for financial aid or if you need approval for the ed planning assignment in your educational planning course include the name of the course. Then click “Send.”
(*Note: Your pathway counselor/advisor will then review, provide changes if needed, and approve if correct. If there is something wrong they may need to contact you therefore you should be checking your BC email regularly.)

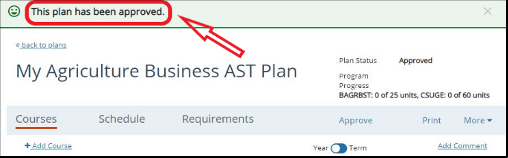
3. You should see a confirmation at the top of the screen.

4. You will also see confirmation a request has been submitted when you return to the plans tab it will reflect that approval has been requested.

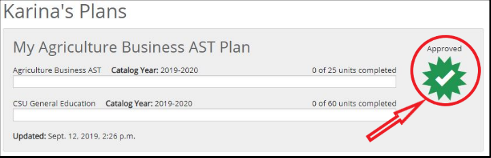
5. Once approved you will see a green check mark and when you open the plan it will reflect approved at the top of the plan, see figure 1 and figure 2 below as examples.
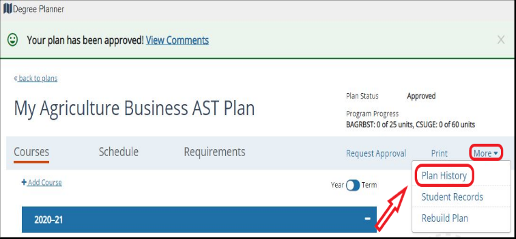
6. You will be able to view the comments once you have clicked to open the plan. From the top of the screen you will see an option to view comments.

7. This will take you to the plan history and display comments.

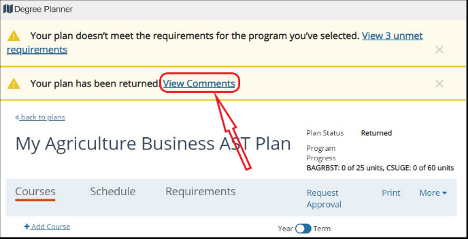
8. If there are several errors the counselor/advisor may return the plan not approved requesting to speak with you. You will see this indicated from the main degree planner tab.

9. Again, you will be able to view the comments from the plan history either from the top of the screen or under the “more” tab to the right, see figure 1 and figure 2 below: